No pencil sketch just
Starting with One brush full of paint
in three steps
in three steps
 | ||
| ref. photo from PaintMyPhoto-ClareSmith |
Note: For this I used Khadi paper, and a Kolinsky Sable Brush. Sable brushes are the best for holding a lot of paint, which was ideal for this particular technique of painting.
Prepare your paint before you begin, so it is ready to go as you need it.
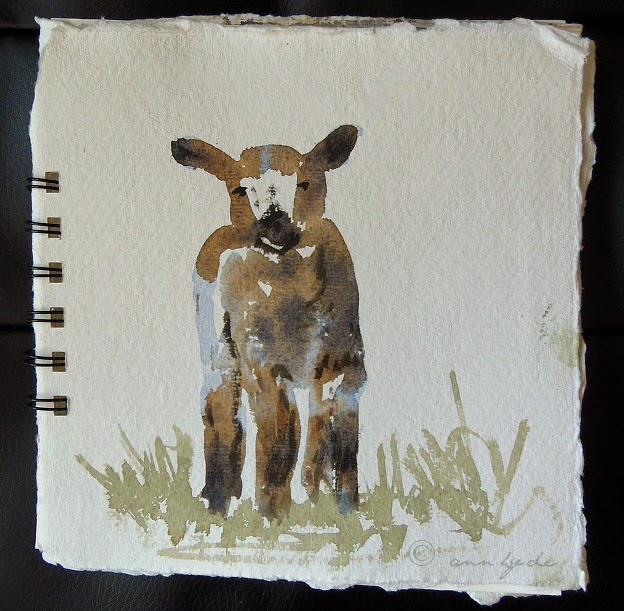
If you look at the painting of the Lamb you will see where these Three Steps to the painting are
(I haven't shown the step-by-step in photos, I think it's better if you study the painting, that way you will be observing more) :
(I haven't shown the step-by-step in photos, I think it's better if you study the painting, that way you will be observing more) :
1. Start with the Palest tone. (the pale tones were pre-mixes of Burnt Umber and Ultramarine Blue)
With the Palest tone I started with an ear and worked my way down, leaving some gaps of paper here and there for highlights. (You can leave this to completely dry), but for this painting I chose to continue to Step 2 whilst the paint here was still wet.......
2. Mid-tone. (this is obviously going to be darker than Step 1)
Look for those Mid-tone areas now and drop this into the still wet paint of Step 1. (This is why you need to pre-mix your paints). Now leave it all to dry completely - very important.
3. Darkest tone.
With your Darkest tones
paint the detailed areas. This is the fun part of the whole painting as
this step brings out all the detail and holds the painting together.
Now all you need do is add any extra bits and pieces to your art work, for me it was the grass.
So to recap:
One Brush
Pre-mixed paint
Steps 1, 2, 3.
**************